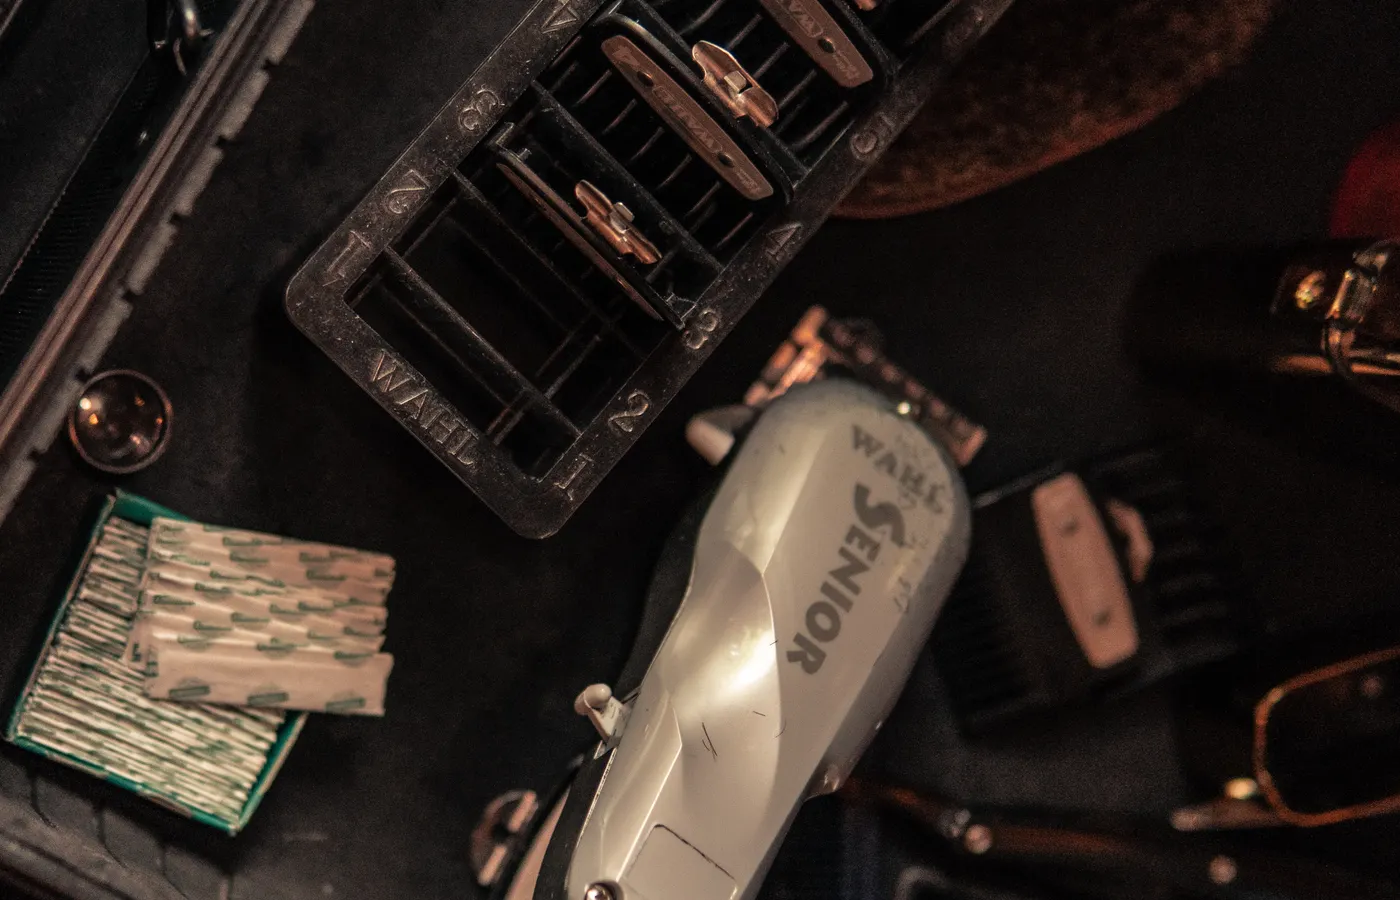
A dog grooming blade number tells you approximately how much coat remains, not how much hair the blade removes. Higher blade numbers usually leave less hair. Use the chart below as a starting point, then account for coat preparation, clipping direction, blade brand, and the body area before making the first full pass.
Dog grooming blade length chart Download the blade length chart as CSV
Blade numbers and guard comb labels are different systems A bare blade and a guard comb can leave similar stated lengths, but they do not always leave the same surface finish. A guard comb holds the cutting blade away from the skin. It also needs a fully brushed, dry coat to pass through cleanly. A finish blade cuts directly at its stated depth and can behave differently on a fine, dense, flat, or curly coat. New groomers often try to memorize letters, colors, blade numbers, and fractions at once. One trainee stopped using the letters and arranged blades from closest to longest in a caddy. Another wrote the actual length on the salon notes. Color is less dependable because sets vary. Length in inches or millimeters is the clearer shared language.
Convert the measurement before choosing the tool Use 25.4 millimeters per inch. One eighth inch is about 3.2 millimeters, one quarter inch is about 6.4 millimeters, three eighths inch is about 9.5 millimeters, and one half inch is 12.7 millimeters. These conversions help when a blade is marked in millimeters but a haircut request uses fractions of an inch. A grooming student asked whether 9.9 millimeters meant hair removed or hair left. The useful answer was hair left. That distinction should be written beside the chart because the blade number itself does not reveal it. For a repeatable body-length instruction , record the blade or comb, direction, and area rather than recording only the style name.
Direction can change the result more than the chart suggests The listed length normally assumes clipping with the direction of coat growth. Going against the grain lifts the hair and often produces a visibly closer result. Experienced groomers sometimes describe a reversed pass as roughly two blade steps shorter, but that is a working comparison rather than a universal conversion. Coat density, curl, preparation, and blade condition all change the finish. One owner used a #7F on a white Poodle and disliked how much skin showed. After a week of growth, the length looked acceptable. The next decision was not simply to move one number on a chart. Coat thickness, a #4F alternative, and a guard-comb pass over a #30 blade all produced different tradeoffs in the discussion.
A #30 or #10 under a guard comb depends on the system Some groomers use a #30 under metal attachment combs. Others use a #10 as the base specified for their set. A home user should follow the comb manufacturer’s compatibility instructions rather than treating either answer as universal. Never assume a very short base blade is safe to use directly because it works beneath a comb. The same disagreement shows why a printed chart cannot replace a small test section. One professional preferred longer finish blades because guard combs left more lines on some coats. Another valued combs for the range of lengths they offered, but warned that an incompletely brushed coat could snag, make the comb jump, or leave a short patch.
Use the chart as a sequence, not a promise
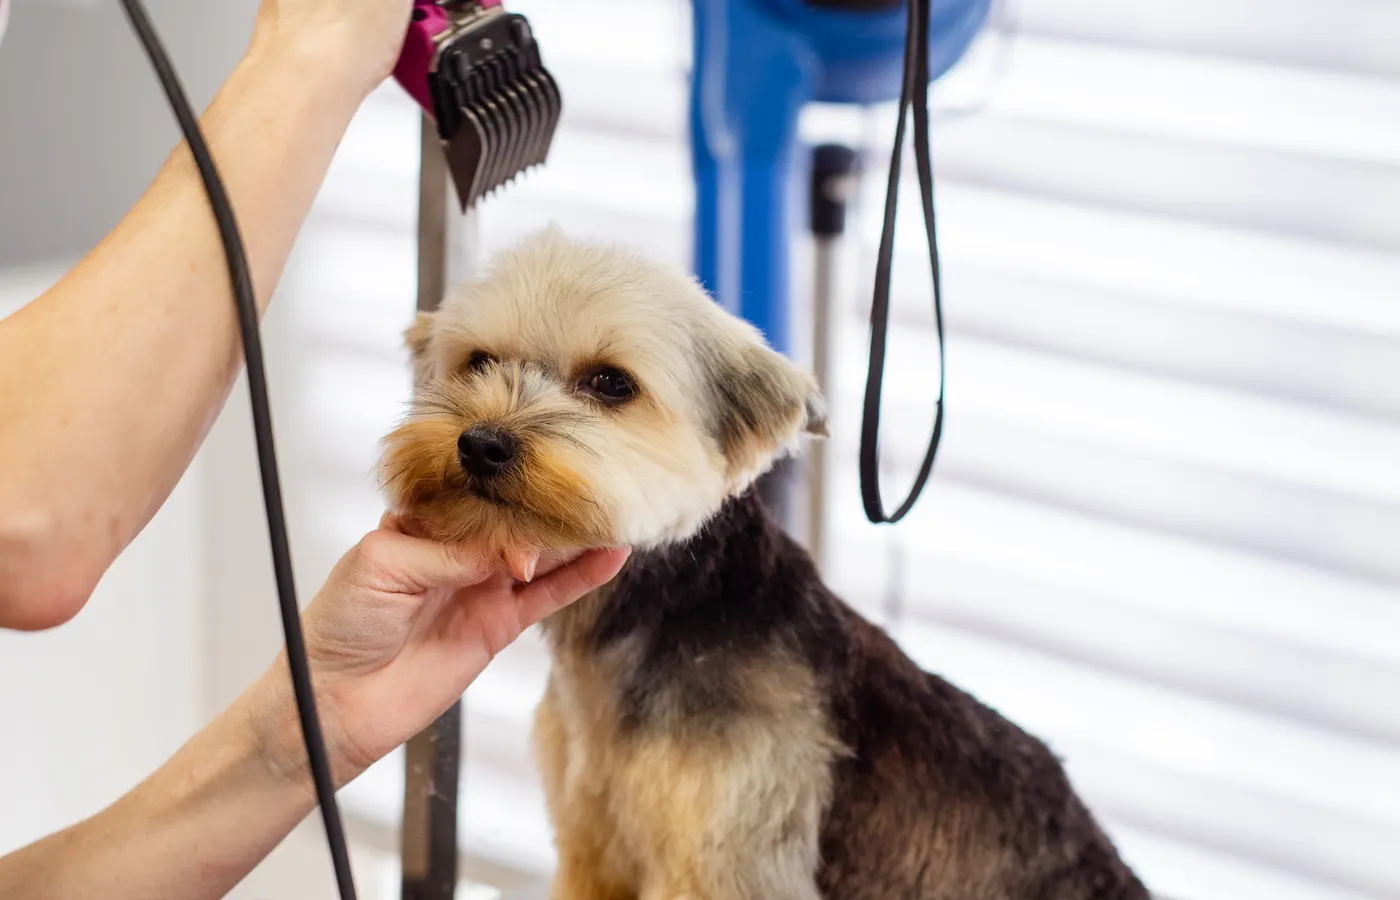
- Wash, dry, and brush the coat so a metal comb reaches the skin without catching.
- Confirm whether the requested measurement means coat left after cutting.
- Choose the longest plausible blade or guard and test a small body section.
- Keep the blade flat, follow the coat direction, and inspect the result before continuing.
- Check blade temperature frequently and change or cool the blade before it becomes uncomfortable.
- Write down the tool, direction, body area, and finished result for the next appointment.
- Do not force a guard comb through mats. Do not use a body-length chart as permission to clip every coat type or body area the same way. If the dog has skin folds, irritation, severe matting, or a coat that should not be routinely clipped, the safe length decision may require a professional assessment.
- A useful blade chart narrows the first choice. The test patch, coat condition, and written result turn that choice into a repeatable haircut.